Outbound Process Configuration in SAP S/4HANA EWM
- Rajesh Sharma
- Jan 13
- 1 min read


Outbound Process Configuration Steps in SAP S/4HANA EWM
This blog will discuss the configuration steps for the outbound process in SAP S/4HANA EWM.
1. Outbound Process Configuration Steps in EWM
1.1 Define Warehouse Process Type

Step 1: Warehouse Process Type 2010- Stock Removal


1.2 Determined Warehouse Process Type


1.3 Define Document Type for Outbound Delivery


1.4 Define Item Type for Outbound Delivery


1.5 Define Document Type Determination for Outbound Delivery


1.6 Define Allowed Item Type Determination for Outbound Delivery


1.7 Define Item Type Determination for Outbound Delivery


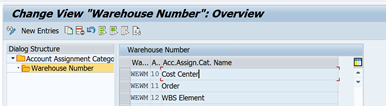
1.8 Define Account Assignment Category Allowed in Warehouse

1.9 Map Document Type from ERP System to EWM System


1.10 Map Item Type from ERP System to EWM System


2. Stock Removal Strategies
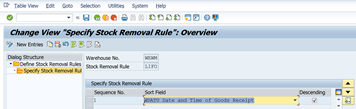
2.1 Specify Stock Removal Rules


2.2 Specify Storage Type Search Sequence


2.3 Define Stock Removal Indicator


2.4 Determine Storage Type Search Sequence for Stock Removal


2.5 Optimize Access Strategies for Storage Type Search for Stock Removal


3. Maintain Stock Removal Indictor to Warehouse Product
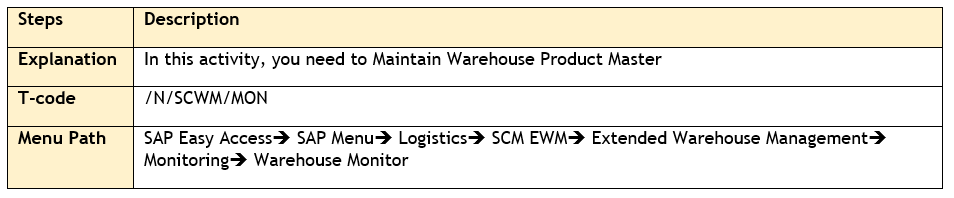
Step 1: Enter the Warehouse Number, and Monitor, Execute

Step 2: Product Master, Warehouse Attributes, Enter Product, Execute


Step 3: Select Line Item and Click on more methods, enter stock removal indicator


Repeat the above steps for all products one after one.
Now we can check the Stock Removal Indicator maintained for each product


Conclusion
Above steps need to be followed for outbound process configuration in SAP S/4HANA EWM.
Credit
This blog writing inspiration is from Naidu Sir's Live EWM Training Recorded Videos at SASTRAGEEK.
Rajesh Sharma
SAP WM/EWM Functional Consultant
§ Linked in profile: https://www.linkedin.com/in/rajesh-sharma-204910278/
§ Twitter: RajeshS98151512/ RAJESH SHARMA@RAJESHS21287609
§ SAP Blogs: https://www.sastrageek.com/blog


Comments